> ## Documentation Index
> Fetch the complete documentation index at: https://ekacare-mintlify-80308f89.mintlify.site/llms.txt
> Use this file to discover all available pages before exploring further.
# Invite flow
## Overview
The **Invite Flow** allows workspace admins to onboard users into thier workspace using an invite link generated from the **Eka Developer Console**.
## Creating an Invite Link
Click here to visit Eka Developer Console.
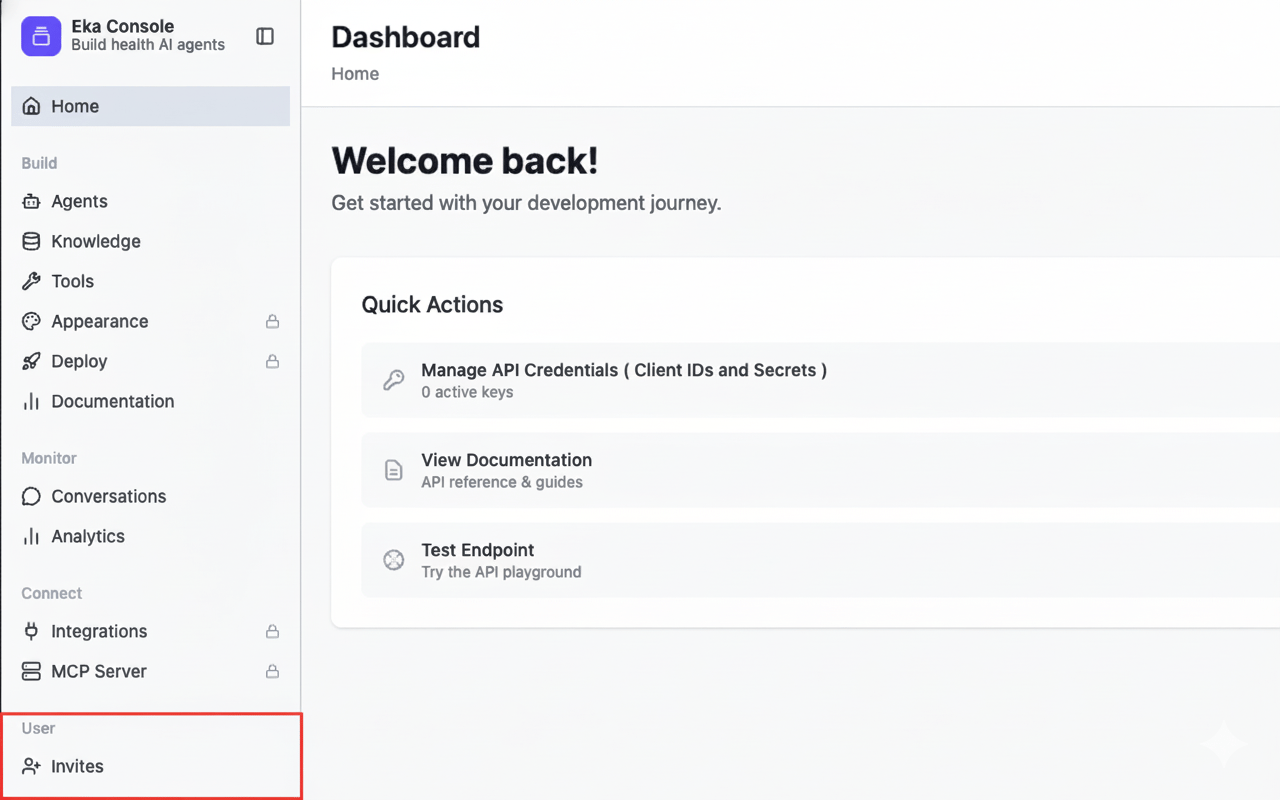
You must be an Admin to create invites.
From the left sidebar, click on Invites.
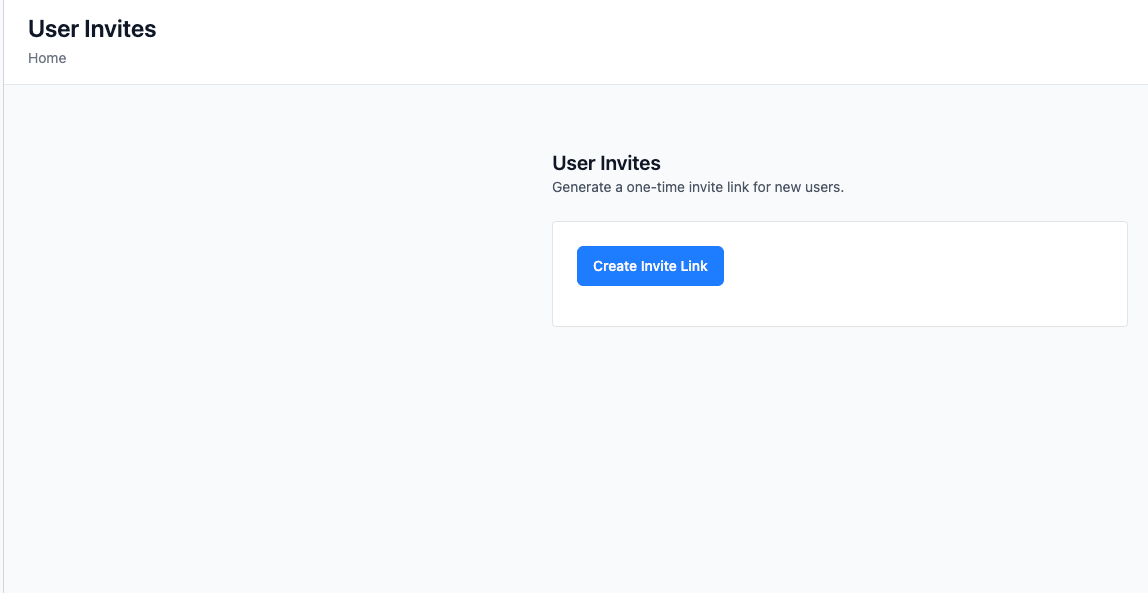
 Click on Create Invite Link. Once created, an invite link is generated.
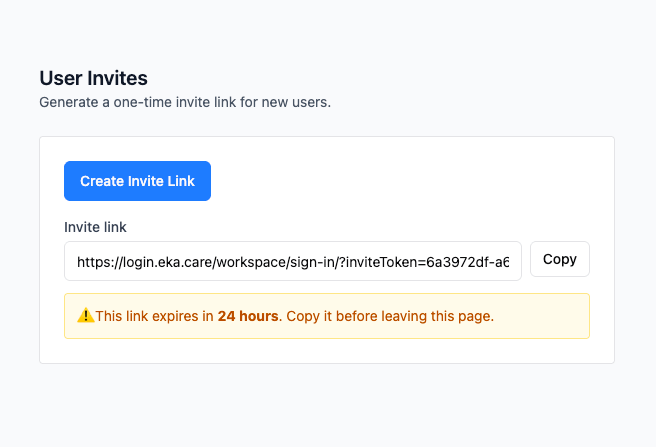 Copy the link before leaving the page as it will not be shown again.
Invite links grant access to a specific product and workspace.
Do not share an invite link with anyone other than the intended recipient.
***
## Consuming an Invite Link
Once generated, the invite link can be shared with the user via email, chat, or any external channel.
Once an invite link is created and shared, the invited user can join the workspace by opening the link.
The system ensures the user is authenticated before granting workspace access.
***
## Invite Authentication Flow
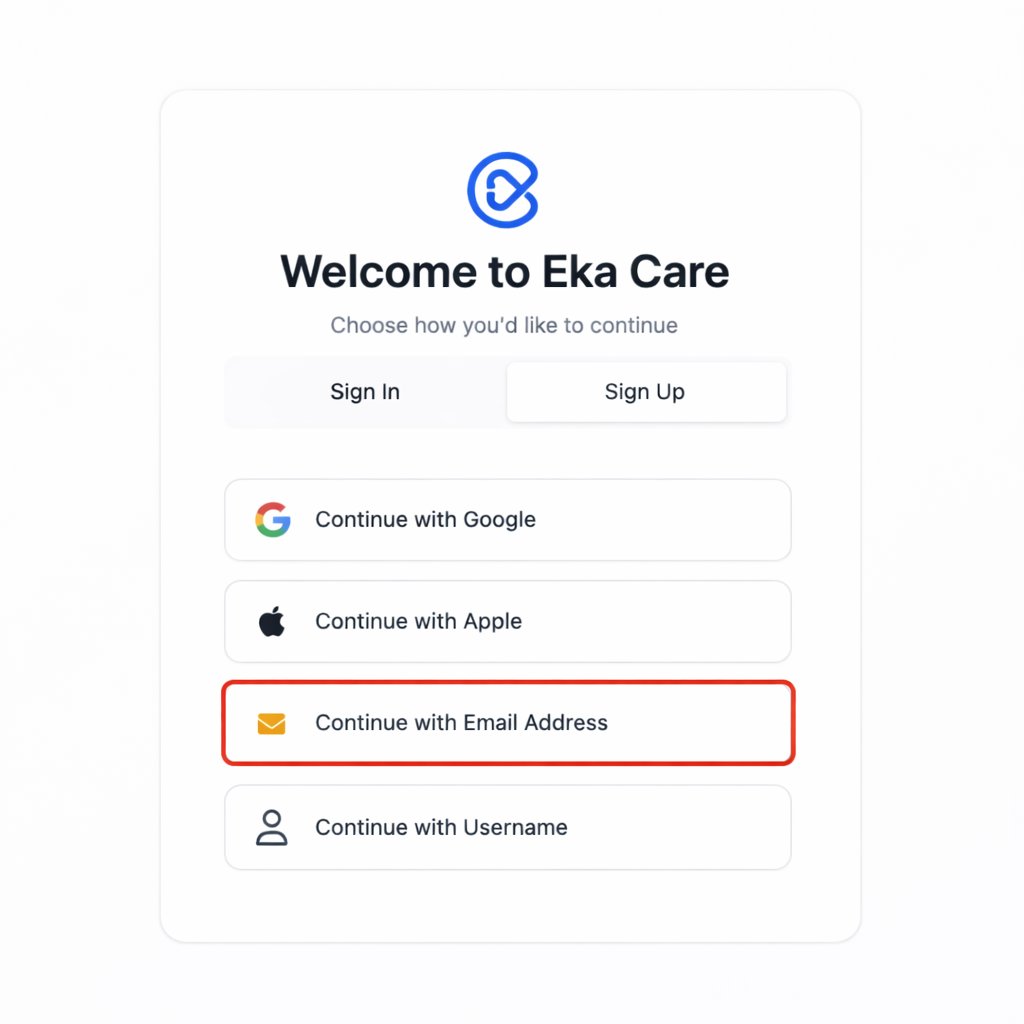
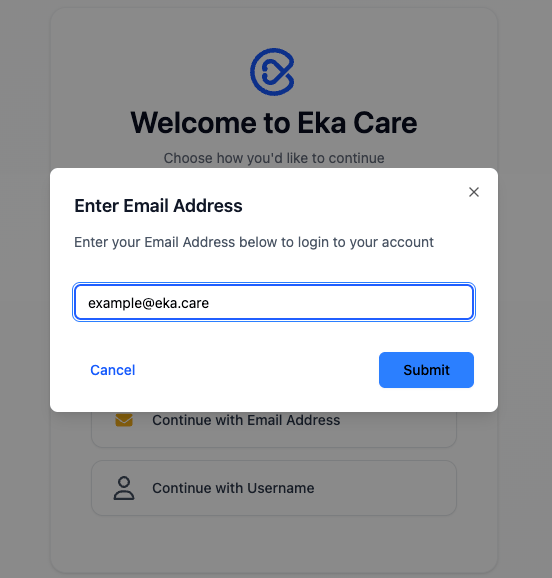
The user clicks the invite link shared with them and the user is redirected to the authentication flow.
On the authentication screen, the user can choose their preferred method to continue.
Eka supports multiple options such as:
* Google
* Apple
* Email Address
* Username
In this guide, we’ll walk through the flow using Email Address.
Copy the link before leaving the page as it will not be shown again.
Invite links grant access to a specific product and workspace.
Do not share an invite link with anyone other than the intended recipient.
***
## Consuming an Invite Link
Once generated, the invite link can be shared with the user via email, chat, or any external channel.
Once an invite link is created and shared, the invited user can join the workspace by opening the link.
The system ensures the user is authenticated before granting workspace access.
***
## Invite Authentication Flow
The user clicks the invite link shared with them and the user is redirected to the authentication flow.
On the authentication screen, the user can choose their preferred method to continue.
Eka supports multiple options such as:
* Google
* Apple
* Email Address
* Username
In this guide, we’ll walk through the flow using Email Address.
 The user enters their email address and clicks Submit.
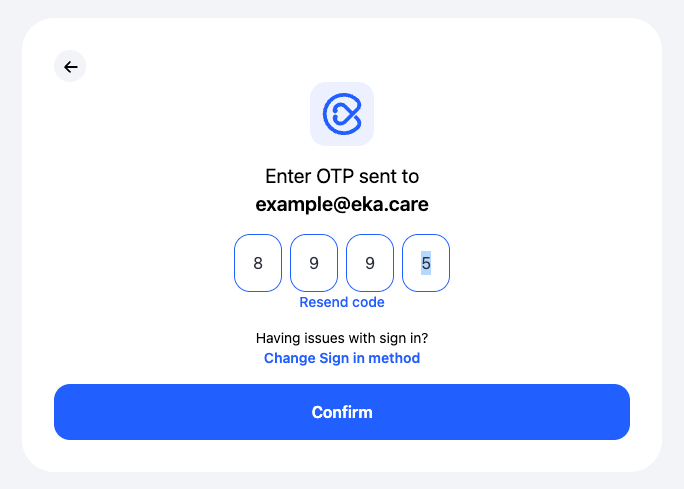
 A one-time password (OTP) is sent to the user’s email address.
The user enters the OTP and clicks Confirm to continue authentication.
A one-time password (OTP) is sent to the user’s email address.
The user enters the OTP and clicks Confirm to continue authentication.
 Users are prompted to set up their profile.
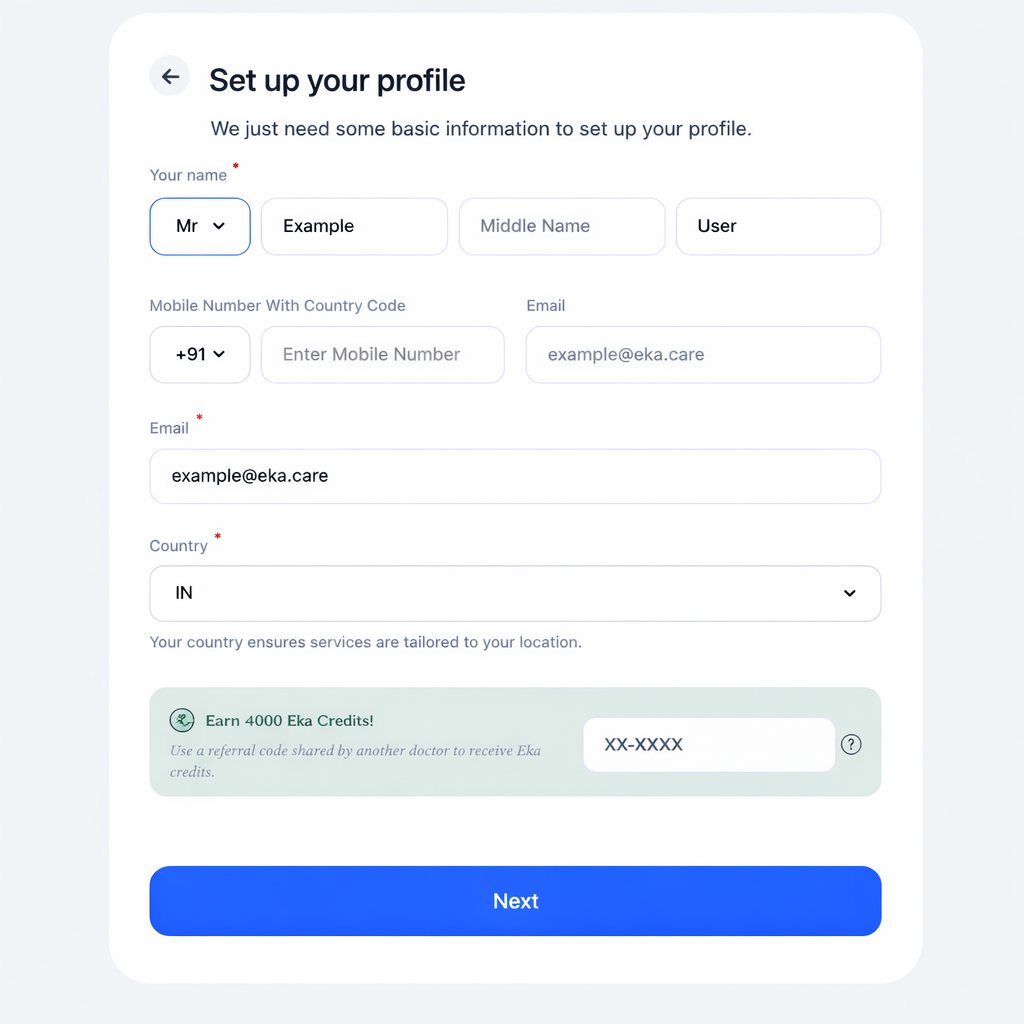 After entering the profile details, click Next to continue.
After successful authentication and profile setup, invite is consumed and workspace access is granted to the user.
Once the invite is successfully consumed, the user is redirected automatically.
The redirection is based on the invite configuration and includes:
* The target product (for example, EMR)
* The specific workspace for which the invite was created
This ensures the user lands directly in the correct product context
without requiring any additional product selection.
After entering the profile details, click Next to continue.
After successful authentication and profile setup, invite is consumed and workspace access is granted to the user.
Once the invite is successfully consumed, the user is redirected automatically.
The redirection is based on the invite configuration and includes:
* The target product (for example, EMR)
* The specific workspace for which the invite was created
This ensures the user lands directly in the correct product context
without requiring any additional product selection.